Out . 10, 2024 10:49 Back to list
Nailing Techniques for Roof Sheathing Installation and Best Practices
Understanding Roof Sheathing Nails Importance and Specifications
Roof sheathing is a fundamental component in the construction and roofing industry, serving as the structural layer between the roof trusses and the roofing material itself. The durability and integrity of any roofing system significantly depend on the quality and correct installation of roof sheathing, which highlights the crucial role of roof sheathing nails.
What are Roof Sheathing Nails?
Roof sheathing nails are specialized fasteners designed specifically for attaching wood sheathing panels, such as plywood or oriented strand board (OSB), to the roof's framing. These nails are vital for ensuring that the sheathing remains firmly attached, providing both structural support and a foundation for the roofing materials that will follow, such as shingles or tiles.
Types of Roof Sheathing Nails
Roof sheathing nails come in various types, each tailored for specific applications
1. Diameter and Length Roof sheathing nails typically have a diameter ranging from 0.120 to 0.145 inches and are available in lengths from 1-1/4 to 2-1/2 inches. The length chosen often depends on the thickness of the sheathing material and the requirements of the underlying framing.
2. Material Most roof sheathing nails are made from steel, either galvanized or coated, to resist corrosion. This is especially important in areas prone to moisture, where rust can significantly weaken the hold of the nails over time. Stainless steel options are also available for high-exposure areas.
roof sheathing nails
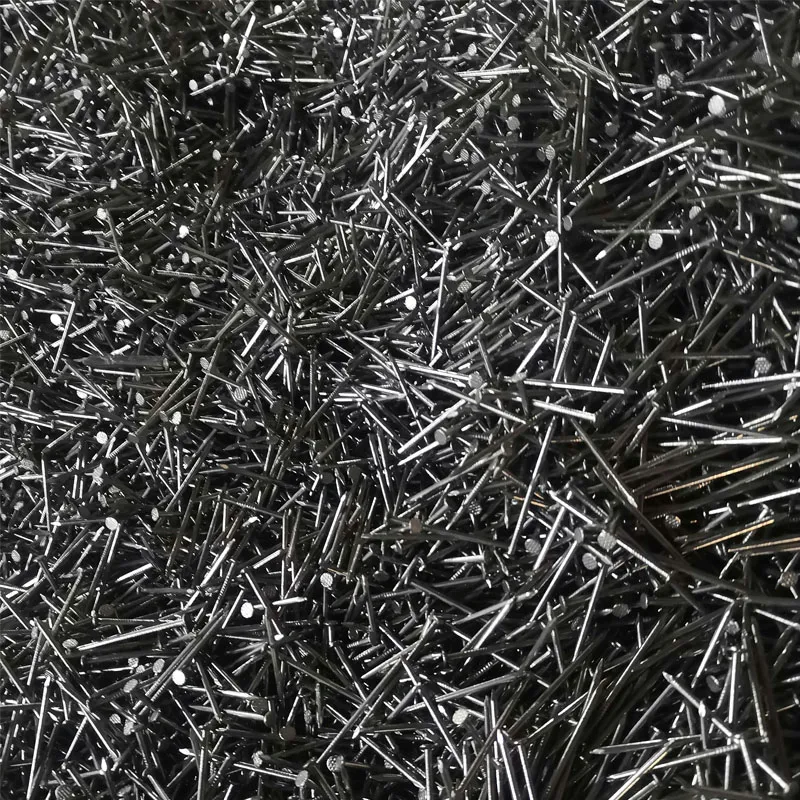
3. Head Style The head of the nail can vary, with options including flat, round, and ring shank heads. Ring shank nails provide superior holding power, making them a popular choice for roofing applications.
Installation Considerations
Proper installation of roof sheathing nails is critical for the overall efficacy and safety of the roofing system. Here are key installation guidelines
1. Spacing Nails should be installed with appropriate spacing—usually around 6 to 12 inches apart, depending on local building codes and the sheathing material used. Proper spacing ensures even distribution of load and minimizes the risk of sheathing failure.
2. Nail Penetration It's vital that nails penetrate into the underlying rafters or trusses by at least ¾ inch. Insufficient penetration can lead to compromised structural integrity.
3. Avoid Overdriving Nails should not be overdriven, as this can damage the sheathing material and reduce the nailing's holding power. A properly calibrated nail gun or hand hammer is essential for achieving optimal installation.
Conclusion
In summary, roof sheathing nails play an essential role in the stability and durability of a roofing system. Selecting the right type of nail and ensuring proper installation can significantly affect the performance and longevity of a roof. As building codes and standards evolve, staying informed about best practices regarding roofing fasteners is crucial for builders, contractors, and DIY enthusiasts alike. A well-installed roof not only protects the home but also enhances its overall value, making the role of each component, including roof sheathing nails, vital in the construction process.
-
Reliable Nails for Every Construction Project
NewsJun.10,2025
-
Reliable Iron Nails for Every Project
NewsJun.10,2025
-
Razor Wire Solutions for Enhanced Security
NewsJun.10,2025
-
Hydraulic Hose Ferrule Fittings: Key to a Strong Hydraulic System
NewsJun.10,2025
-
Field Fencing: Secure Your Property with the Best Solutions
NewsJun.10,2025
-
Euro Fences: The Ultimate Choice for Security and Style
NewsJun.10,2025

